
Jeff and I have been working on a handmade play kitchen for Chelsea's second birthday. Happily, we finished it with days to spare! I'm so very happy with how it turned out. The original plans came from
Ana White. Looking at this photo, I realize I should have adjusted the tension rod to be even. Oh well. It does sit flush to the top of the sink normally.
We found a few discrepencies in the plan I want to address here in case anyone wants to make this. The shelf inside the oven needs to be 10" and not 12" so that the oven door will fit inside. The dimensions of the door need to be 10" across in order to fit inside. Unfortunately this was learned the hard way but Jeff made it all work. He is good like that.
We used poplar panels and had them cut to our measurements at Home Depot.
This is how the entire kitchen looked when we started. I had wanted Jeff and I to both build it but because we procrastinated starting this project, Jeff did the building and I did the painting, sewing, and accessorizing.
This is the base for both the stove and sink - remember to shorten the shelf in the stove if you build this. We realized this after the shell was built and painted. Ugh. Luckily Jeff worked some handy magic and was able to trim the shelf.
This is the top of the sink with the sink hole and faucet holes cut. We used a stainless steel bowl for the sink and did not glue it down so that it can be removed and cleaned as needed. I found the faucet at
Sears.com. It is a cheap bar faucet and cost around $18 with shipping.
I used these unfinished wooden soccer balls found at Michaels for the burners. I painted them gray and glued them soccer ball side down (the flip side is flat wood) using E6000 glue.
Here they are in the painting/assembly stages. The paint is Martha Stewart's Enamelware color matched to Lowes Olympic No VOC paint. I then used a spray sealer (which probably canceled out the no VOC paint but the paint on its own would have been toast against a 2 year old).
Here is the top of the finished sink and the stove. The sink brush came from Pier 1.
The towel was a Dollar Tree find and was especially fitting as Chelsea will be having a rainbow themed birthday party. The pot holder was crafted by Jeff's 8 year-old niece. The hooks and towel bar came from IKEA. The towel bar is actually part of a handle two pack. The other handle is on the oven.
The knobs came from Home Depot. I like the glass knobs that many others have been using on this project but I felt the brushed nickel gave a more realistic look.
We decided to have the oven door open from the side rather than the bottom so that Chelsea would not be tempted to step on it and break the door and/or plexiglass. This way, she will also be able to stand in front of the oven to get things in and out.
I found this small rack at a kitchen supply store and the pizza is a
Melissa & Doug play set.
We attached an LED push on/off battery powered light inside the oven for a more realistc vibe.
This is the sink without the tension rod and skirt. There is some nice storage for all of Chelsea's play food and utensils. Some of which she will be receiving at her birthday party. The store bins are from IKEA. They come in a set of 1, 2, 3. The number 3 bin doesn't fit so it will likely be housed inside the oven.
Here is one more look at the completed set. I'm so proud of us for building this and want to also send special thanks to my father-in-law who helped troubleshoot and gave Jeff use of some of his tools. I didn't do a final total but this entire project cost us roughly $150. I think it was well worth it and came out nicer and larger than any of the commercially available kitchens. It is our hope that Chelsea will love this and that it will be something that will stay in the family for generations to come.
My next post will be of the accessories and Chelsea's reaction to her new play kitchen. With my posting - this may take a week or two!
If you have any questions, please feel free to leave a comment.


 I should have posted this back on Halloween but I'm going with the better late than never theme. Do you remember Shrinky Dinks? They were one of my very favorite "toys" when I was growing up. Hubby's niece Juli was with us one day as we were browsing a toy store - all of a sudden I spotted a Shrinky Dinks kit and was instantly excited! Juli didn't have a clue about Shrinky Dinks and when I explained what they are she said, "Sounds like a rip-off." Gotta love kids.
 Once we got them in the oven and she saw the shrinking fun commence - she really got into it.
 Halloween skeleton before...


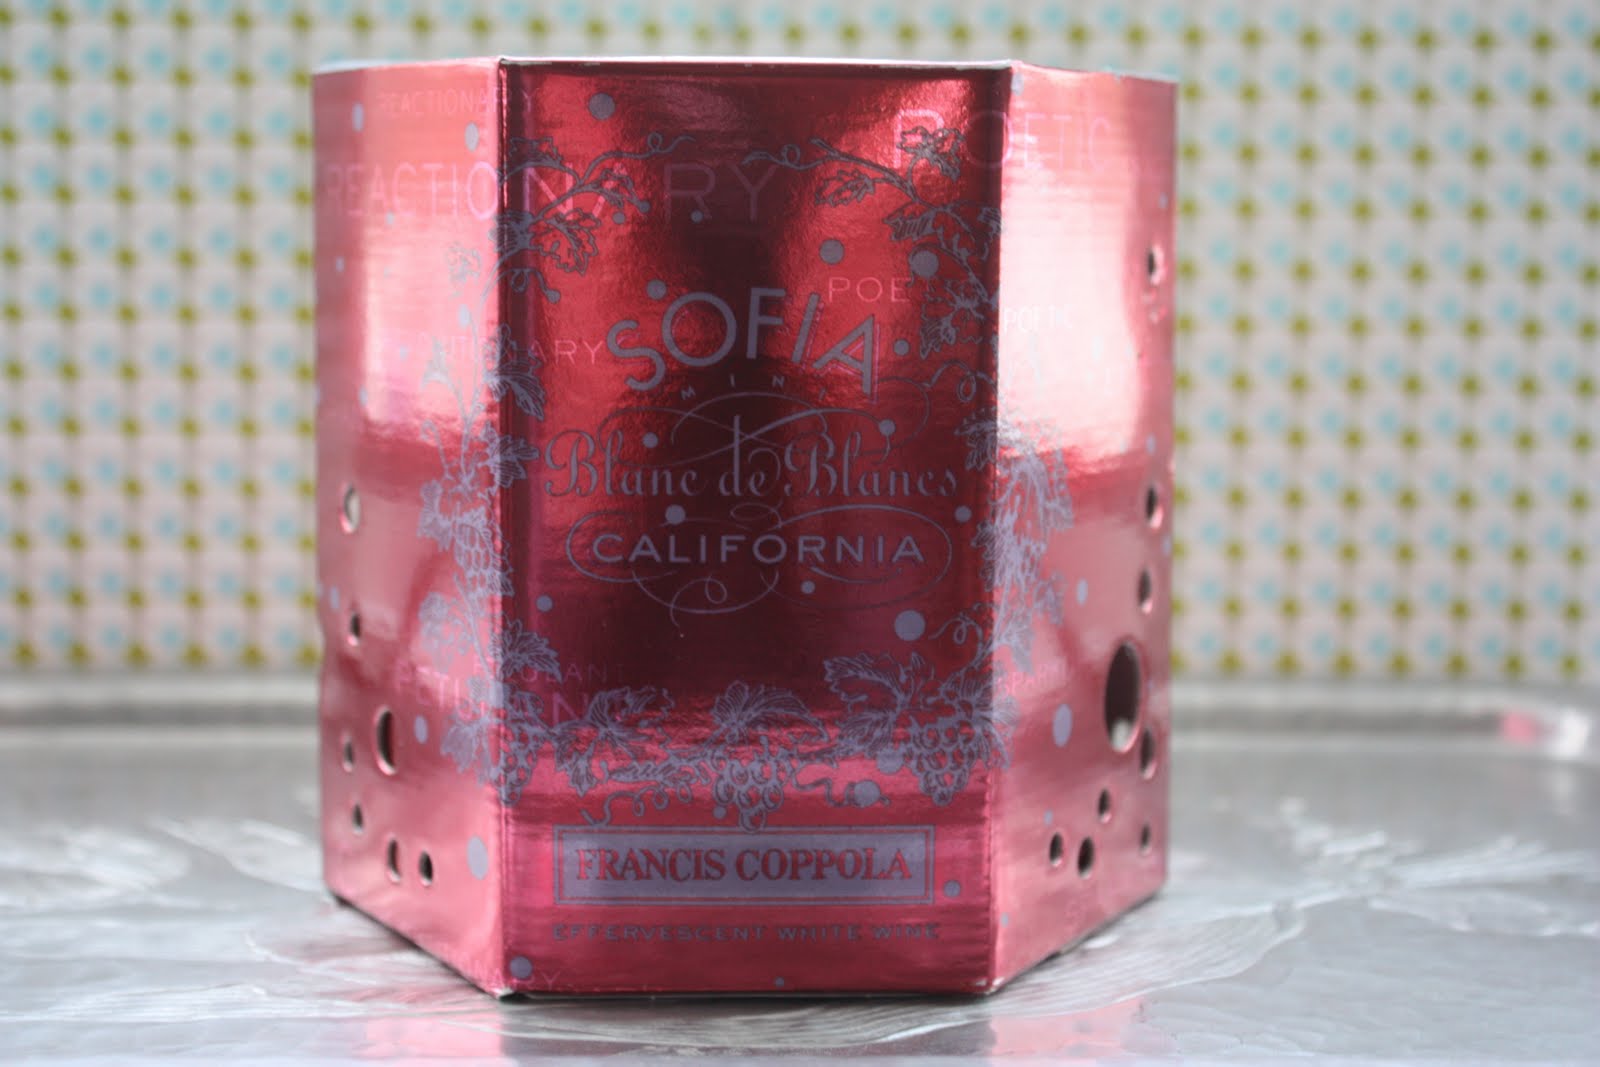


 If you try this recipe, make sure you follow it exactly. The first time I tried it I attempted to use some chocolate I had on hand and it didn't quite set up properly. The second attempt came out perfect. These little suckers are delicious by themselves too! (Note bottle of wine in background - while not mandatory, it doesn't hurt to have a little sip while creating your chocolate masterpieces).
 Much as the other bloggers, I packaged them in individual cellophane bags (I had these on hand and purchased them at a cake supply shop but I believe Joanns or Michaels also carry them).


